
Better Color in Adobe Creative Cloud

Using current and optimized color settings for print in Adobe Creative Cloud
Rarely do we find print designers or prepress operators using current and optimized color settings for print in Adobe Creative Cloud applications like Photoshop and Indesign. Unfortunately, this error makes printing to universal print conditions like GRACOL 2013 CRPC6 problematic from the very start of the design-to-print process.
The following is a key best practice to eliminate errors early in the process.
Idealliance provides several preset Adobe Color Settings Files (.csf) for use when viewing or preparing images for G7 printing. These .csf files will automatically set Adobe Creative Cloud applications (Photoshop, InDesign, Illustrator and Acrobat) to the ideal settings for a G7 workflow.
Watch the following video or read the instructions below for how to have better color when using Adobe Creative Cloud.
Selecting the most appropriate .csf file for your type of work will automatically ensure that:
- A CMYK file displayed on your monitor looks as close as possible to a proof or final printed piece produced to the same specification.
- An RGB image displayed as CMYK looks as close as possible to a proof or final printed piece produced to the same specification.
(Note: Accurate color display requires an accurate custom monitor profile. Even then a profiled display will only simulate an actual proof or print under carefully controlled lighting conditions.)
- When you convert an image from any color space (RGB, CMYK, LAB, grayscale, etc.) into CMYK, the resulting file will be optimized for the specified type of G7 printing in terms of GCR, TAC, gamut mapping, etc.
- When you convert an image into grayscale mode, the resulting file will be optimized for printing with the black ink alone. Converting an image to grayscale mode will use the black separation characteristics of profile or condition assigned in the working space.
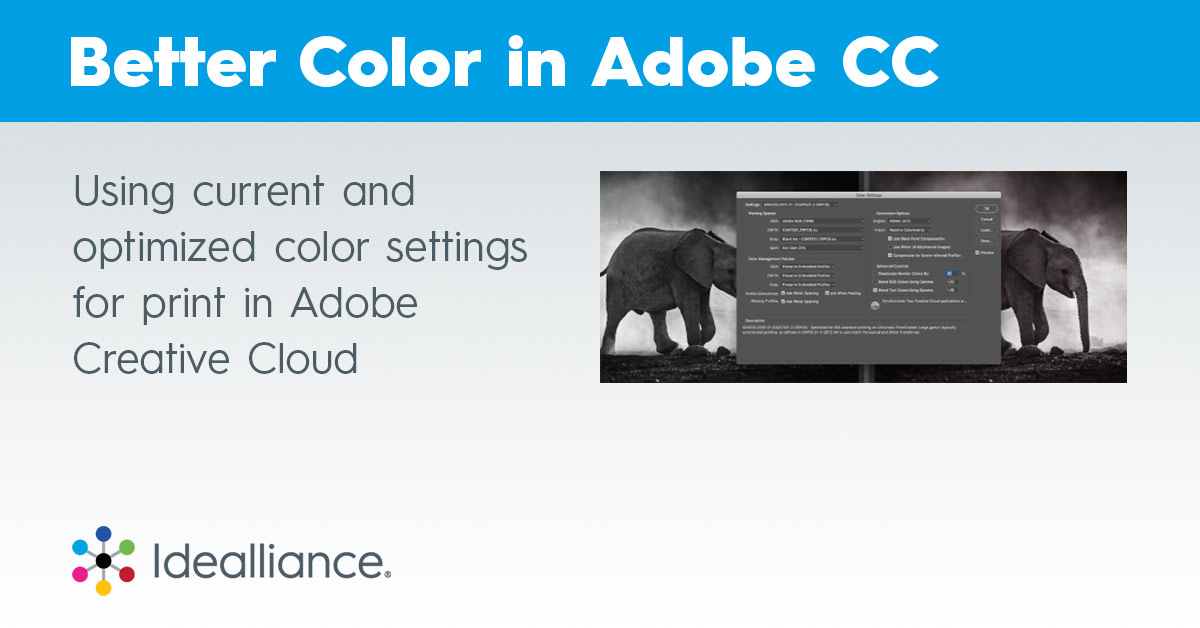
Selection in Creative Cloud: GRACoL 2013
Once the files are placed in the correct location, select the appropriate color settings file in your Creative Cloud applications as follows.
- Go to Edit > Color Settings…
- In the drop-down menu, select the appropriate color settings file according to the type of printing by which your work is most often printed.
- If your work is mostly for commercial printing on high quality Grade 1 or 2 paper, select: GRACoL_Coated1_AdobeRGB.
- If your work is mostly for publication (magazine) printing on good quality Grade 3 paper, select: SWOP_Coated 3_AdobeRGB.
- If your work often varies between publication and commercial printing, either change the color settings for each job or keep the settings you most frequently use but change the CMYK output profile as needed when converting images into CMYK.
Synchronizing Via Bridge
If you have installed the whole Creative Cloud, you can use Bridge to quickly synchronize all Adobe applications to use the same color settings, as follows:
- Launch Bridge from the File menu of any Creative Cloud application.
- Go to Edit > Creative Cloud Color Settings…
- Select whichever G7 Color Settings file is appropriate (see above).
Changing the RGB Working Space
If your preferred RGB working space is not Adobe RGB 1998, you can change the RGB working space and save a modified Color Settings File as follows:
- Select the G7 Color Settings file in the Edit > Color Settings…window.
- Enable the More Options button.
- In Working Spaces – RGB, select your preferred RGB space.
- Click Save…
- Save your custom Color Settings with a new name, such as “SWOP_Coated3_ [RGB Space]”.
- Distribute this new Color Settings File among all of your peers who use the same RGB space.
These directions and more can also be found online at www.idealliance.org/gracol or visit our youtube channel for additional how-to videos.
Read the rest of the November 2020 Digest from Idealliance »